


Introduction
In the digital world, a login page is essential in web development. When you open a website, you get a prompt to sign in or login. This article highlights detailed steps to create a login page using HTML and CSS.
Understanding HTML and CSS
HTML is HyperText Markup Language, and CSS is Cascading Style Sheets. They serve as a foundation for web development. HTML is a standard markup language responsible for structuring content on a webpage. CSS defines the visual presentation and styling of the web pages. There is a need for a basic understanding of the HTML and CSS structure before building the login page.
The HTML file starts with doctype. Doctype is referred to as document-type declaration. It is used to specify the version of HTML in use.
Tags are used in HTML to show the beginning and end of an HTML element. Tags are defined by <>. They are opening and closing tags.
This is followed by the <html> element, which acts as the HTML document's root. Within the <html> element, there is the <head> and <body> sections.
The head tag specifies the title, meta tag, link tags, and the CSS file. The body tag contains the content of the webpage with the login form.
Prerequisite to build the Login Page
HTML and CSS can be written by using a preferred text editor. The text editor can be Notepad++, Visual Studio, Sublime Text, or Atom. Web browsers such as Safari, Firefox, Edge, and Chrome would be used to test the HTML code
Creating the HTML Structure
The HTML structure needs to be set up to build the login page. Open the preferred text editor such as VS Code and create a new HTML file. Save the file in a folder.
The first step in HTML is to declare the <!DOCTYPE> code. It is the first line of code required in the HTML file.
<!DOCTYPE html>
 <html lang="en" dir="ltr">
 <head>
    <meta charset="utf-8">
    <title> Temitope Login Page </title>
    <link rel="stylesheet" href="style.css">
 </head>
Building the Login Form
The main component of the login page is the login form. It consists of input fields using classes as the division for users to enter credentials and a submit button to process the login request. The credentials can be a username, email address, and phone number.
Each input type has a division class to align the content to the centre. Two classes are created for the input type- email address and password.
Let's create the login form using HTML:
<body>
    <div class = "center">
    <h1> Welcome</h1>
    <form method="post">
        <div class="txt_field">
            <input type="text" required>
            <span> </span>
            <label>Email Address </label>
        </div>
 <div class="txt_field">
            <input type="password" required>
            <span> </span>
            <label> Password </label>
 </div>

<div class="forgot"> Forgot Password </div>
        <input type="submit" value="Login">
        <div class="users_signup">
           Don't have an account? <a href="#">SignUp</a>
</div>

Styling the Login Page with CSS
Cascading Style Sheets (CSS) make the login page user-friendly, colourful, and appealing to users. The CSS file is saved as style.css within the same folder where the HTML file is saved.
<link rel="stylesheet" href="style.css">
Each component will be styled. Style the body by setting the preferred font family, and removing the margin and padding. Set a background colour or image. The background image will be saved within the same folder where the HTML and CSS file is saved. HTML and CSS has different colors available.
body{
    margin: 0;
    padding: 0;
    font-family:'Lucida Sans', sans-serif;
    background-color: #2691d9;
    height: 100vh;
    overflow: hidden;
}

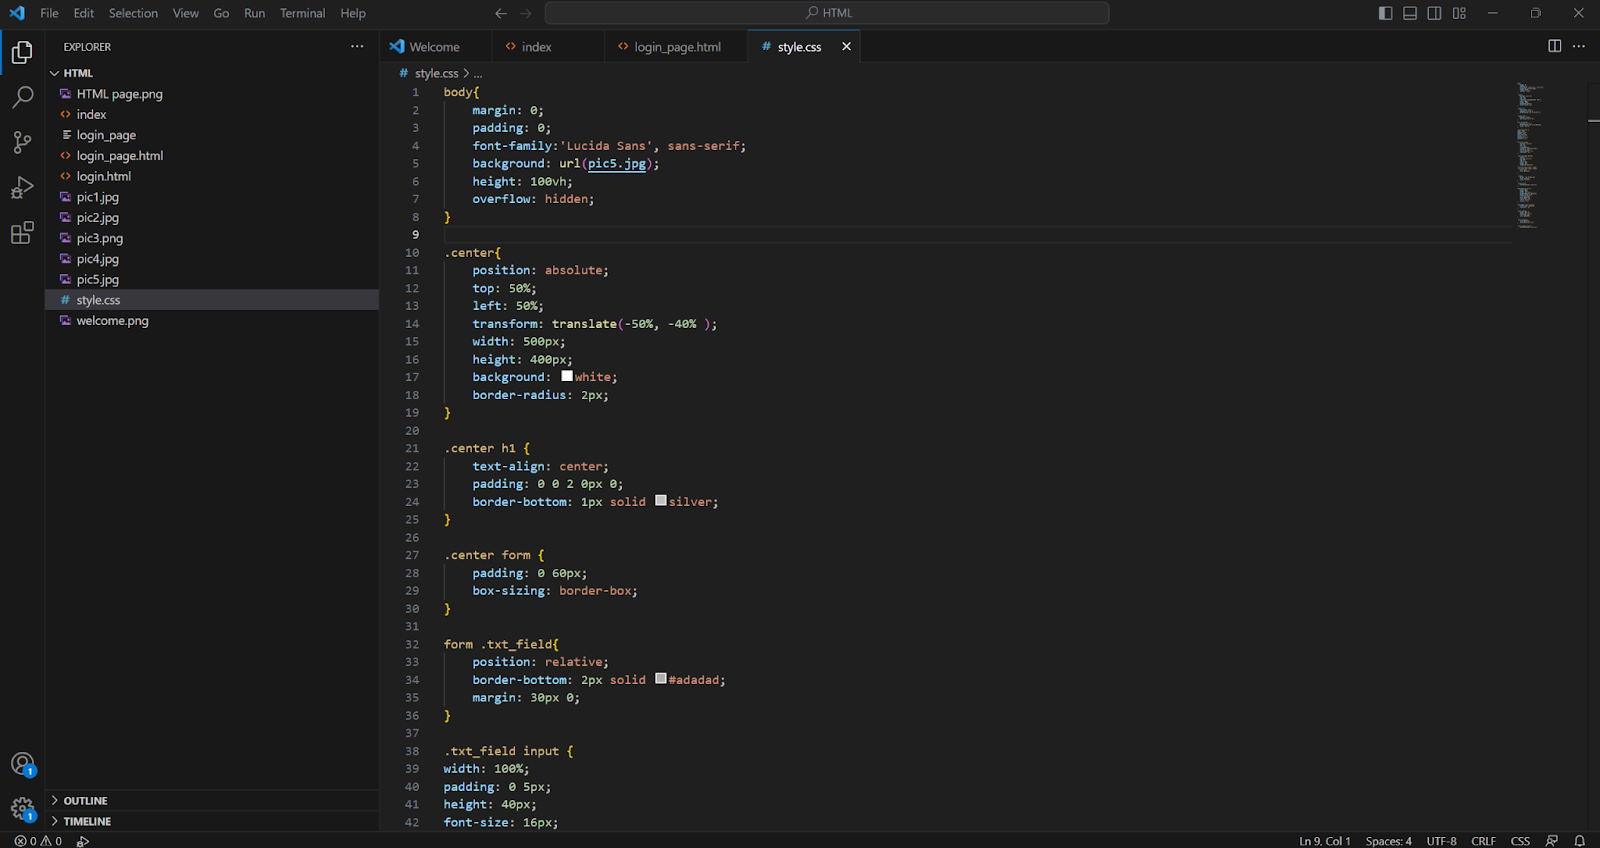
The centre class, the <h1>, and the form are styled using height, width, and background colour. The top and left are set to 50% each. This centralizes the page.
.center{
    position: absolute;
    top: 50%;
    left: 50%;
    transform: translate(-50%, -40% );
    width: 500px;
    height: 400px;
    background: white;
    border-radius: 2px;
}

.center h1 {
    text-align: center;
    padding: 0 0 2 0px 0;
    border-bottom: 1px solid silver;
}

.center form {
    padding: 0 60px;
    box-sizing: border-box;
}
form .txt_field{
    position: relative;
    border-bottom: 2px solid #adadad;
    margin: 30px 0;
}
.txt_field input {
width: 100%;
padding: 0 5px;
height: 40px;
font-size: 16px;
border: none;
background: none;
outline: none;
}

.txt_field label{
    position: absolute;
    top: 50%;
    left: 5px;
    color:#adadad;
    transform: translateY(-50%);
    font-size: 16px;
    pointer-events: none;
    transition: .5s;
}

.txt_field span::before{
    content:'';
    position: absolute;
    top: 40px;
    left:0;
    width: 100%;
    height: 2px;
    background: #2691d9;
}
.txt_field input:focus ~ label,
.txt_field input:valid ~ label{
    top: -5px;
    color: #2691d9;
}

The code below highlights styling the input field that contains the email address and password, which is classified as the txt_field in the HTML file. The height, font size, and padding are set. The width is set to 100%. The styling will space out the input for the email and the password.
form .txt_field{
    position: relative;
    border-bottom: 2px solid #adadad;
    margin: 30px 0;
}

.txt_field input {
width: 100%;
padding: 0 5px;
height: 40px;
font-size: 16px;
border: none;
background: none;
outline: none;

}
.txt_field label{
    position: absolute;
    top: 50%;
    left: 5px;
    color:#adadad;
    transform: translateY(-50%);
    font-size: 16px;
    pointer-events: none;
    transition: .5s;
}

.txt_field span::before{
    content:'';
    position: absolute;
    top: 40px;
    left:0;
    width: 100%;
    height: 2px;
    background: #2691d9;
}
.txt_field input:focus ~ label,
.txt_field input:valid ~ label{
    top: -5px;
    color: #2691d9;
}

Login Pages typically have the option to reset passwords after forgetting the password and submit the credentials provided. After setting the input field, style the “Forgot Password” and “Login” buttons with the code below.
.forgot{
    margin: -5px 0 20px 5px;
    color: #a6a6a6;
    cursor: pointer;
}
.forgot:hover{
    text-decoration: underline;
}

input[type="submit"]{
    width: 100%;
    height: 50px;
    border: 1px solid;
    background-color: #2691d9;
    border-radius: 15px;
    font-size: 16px;
    color: #e9f4fb;
    font-weight: 700;
    cursor: pointer;
    outline: none;
}

input[type="submit"]:hover{
    border-color: #2691d9;
    transition: .5s;
}

New users can sign up to a login Page, Style the sign up button, and set the colour, alignment, and decoration.
.forgot{
    margin: -5px 0 20px 5px;
    color: #a6a6a6;
    cursor: pointer;
}
.forgot:hover{
    text-decoration: underline;
}

input[type="submit"]{
    width: 100%;
    height: 50px;
    border: 1px solid;
    background-color: #2691d9;
    border-radius: 15px;
    font-size: 16px;
    color: #e9f4fb;
    font-weight: 700;
    cursor: pointer;
    outline: none;
}
input[type="submit"]:hover{
    border-color: #2691d9;
    transition: .5s;
}
Testing the Login Page
The HTML and CSS should be saved. Next, run the HTML code on the text editor (VSCode). It would open up on a web browser. The input field would be centralized on the login page. Hover on the input fields and the buttons.

Conclusion
You have successfully built a login page. User authentication and HTML validation forms can be added as a step forward. Building the login page is relatively simple by understanding the HTML and CSS structure.